

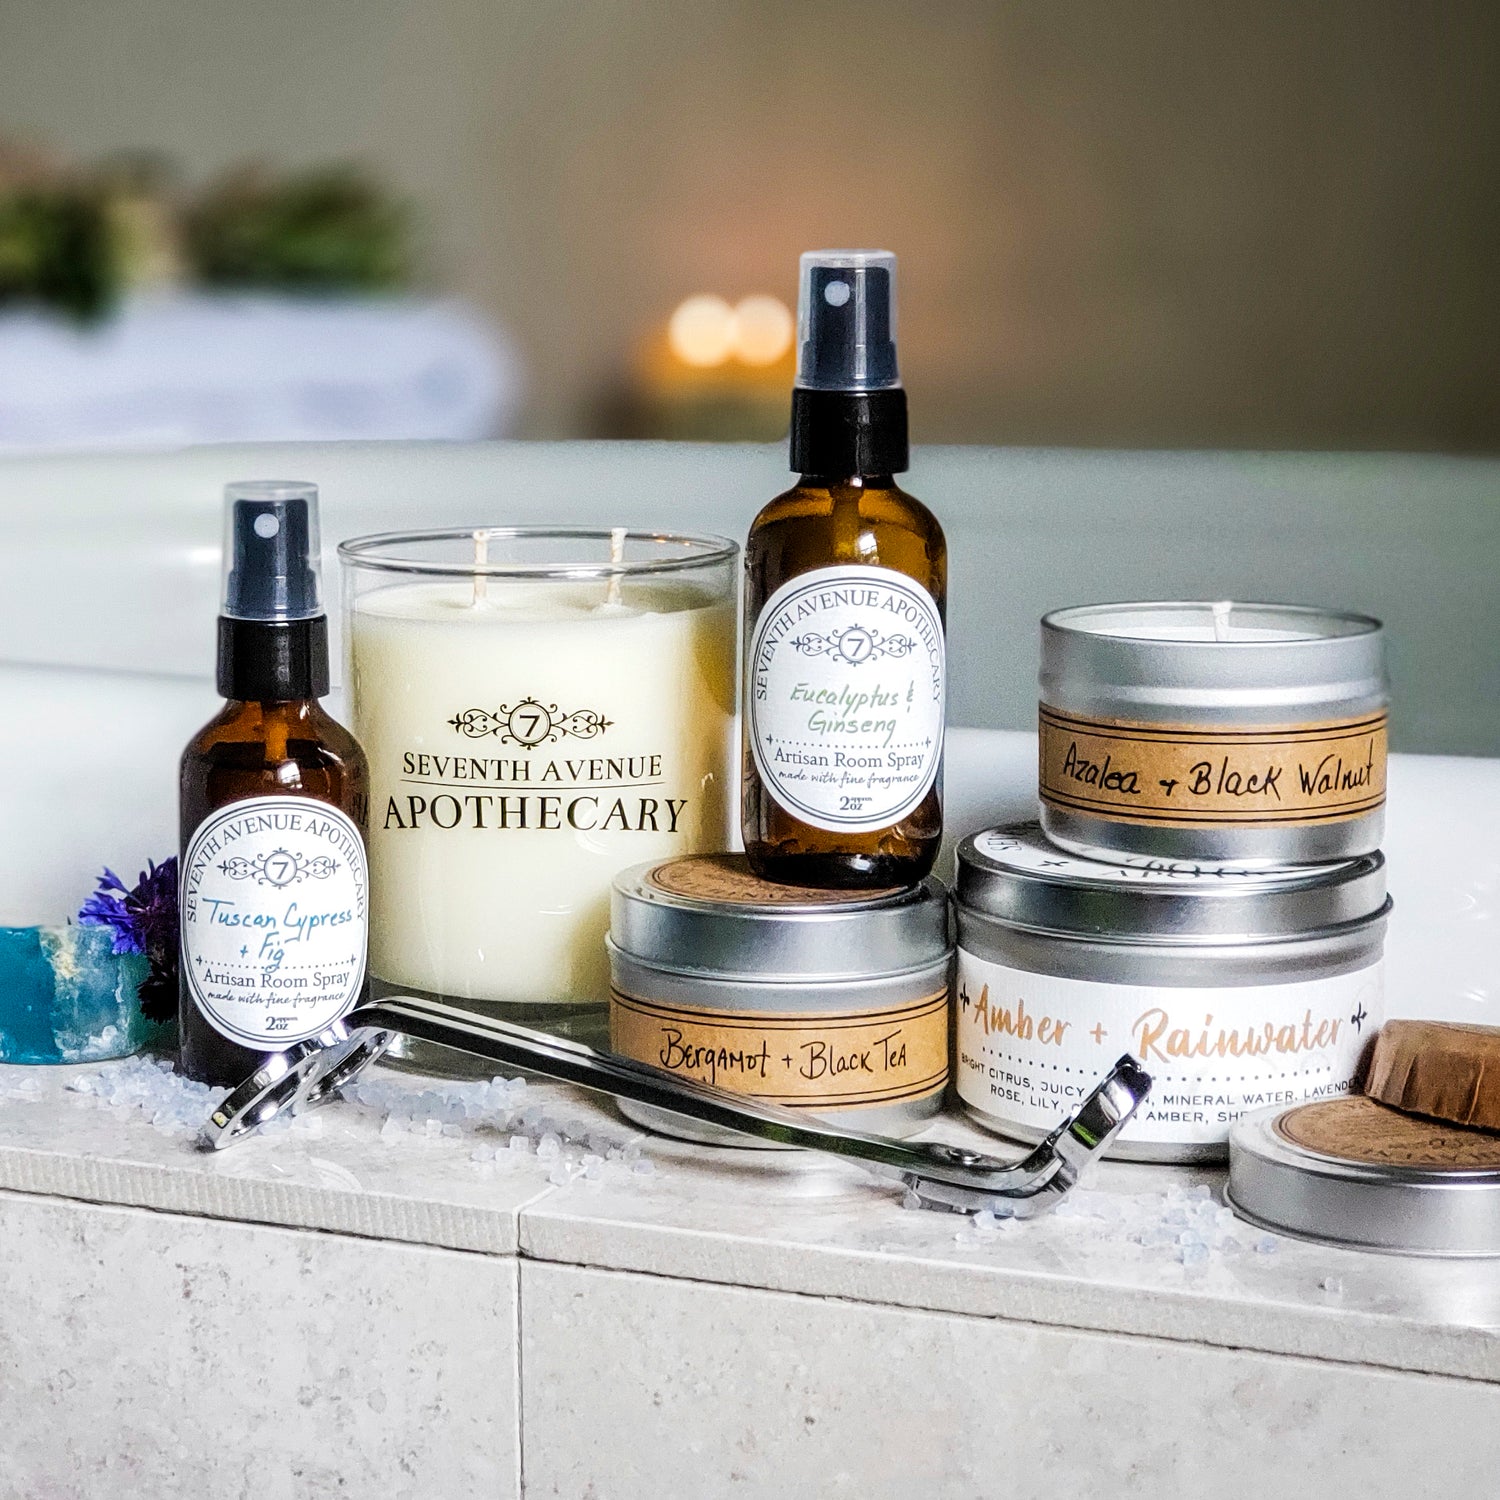

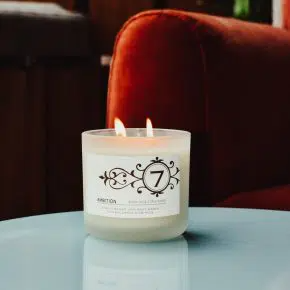
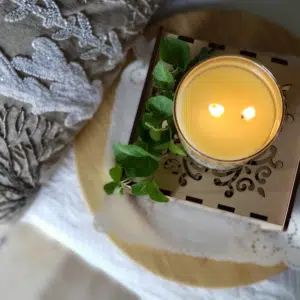
Soy Candle Tips
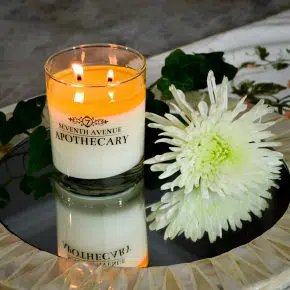
Know When to Extinguish
Burn no longer than four hours.
Achieve a full melt pool every time you
light your candle to allow it to burn
evenly down for optimal scent
diffusion.
Try to let it stay lit until a full melt pool.
It may take up to three burns for the
wax to achieve a full melt pool depth.
This is designed so that the candle’s
wick doesn’t burn too high.

Trim Your Wicks
Center and trim your wicks to 1/4″
prior to each lighting. Always remove
dust, debris, and charred wick pieces
from your candle before each lighting
to eliminate sooting.

Dip Your Wicks
NEVER blow out your candle! Do not
use lid to extinguish, simply dip them!
Use a wick dipper or metal object to
gently press wicks down into the hot
wax and pull them back up straight.
This immediately extinguishes the
flame without the smoky smell.
Know When to Extinguish
Stop burning your candle when 1/2″ of
wax remains. Our containers are 100%
able to be re-purposed and recycled!

Avoid Airflow
If your candle is lit and placed under a
fan or draft, it can cause it to burn
unevenly. Instead, place the candle
where little airflow will affect the
flames.
Troubleshooting Tips
If the flame seems too low, pour out a
small layer of wax and relight.
If you trimmed the wicks too short, scrape out a thin layer of wax and light.
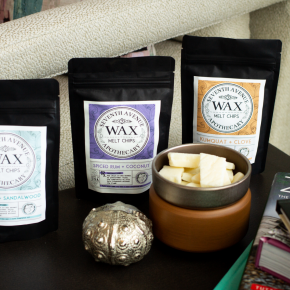
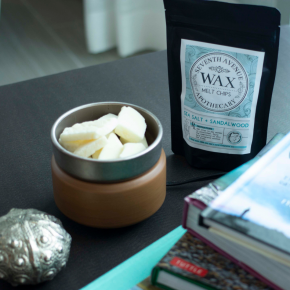
Wax Chips Tips
Changing wax melts when the warmer is on
To change wax melts if the warmer has
been on for a while and the wax is in
liquid form, take 1-2 cotton balls, place
them inside the warmer, allow it to
absorb, and dispose of the cotton balls
when you are done. If any residue is
left, wipe the remainder of the wax with
a paper towel. This is the ideal method
if your warmer does not have a
removable lid or is a wall plug-in.
Alternative to cotton balls: A spatula.
Turn off your wax melts warmer and
wait a few minutes until the wax cools
down. You still want it to be warm, just
not completely liquid. Take your
spatula, scoop out the wax, and throw it
away.
Changing wax melts when your warmer is off
To change wax melts if the warmer has been on for a while and the wax is in liquid form, take 1-2 cotton balls, place them inside the warmer, allow it to absorb, and dispose of the cotton balls when you are done. If any residue is left, wipe the remainder of the wax with a paper towel. This is the ideal method if your warmer does not have a removable lid or is a wall plug-in.
Alternative to cotton balls: A spatula. Turn off your wax melts warmer and wait a few minutes until the wax cools down. You still want it to be warm, just not completely liquid. Take your spatula, scoop out the wax, and throw it away.
Electric Warmer Liner
A very convenient way to change wax melts is to use a wax warmer liner or wax warmer popper liner. All you have to do is place a popper liner in your wax warmer tray before putting the wax melts inside of your warmer and be blessed with an easy clean up! There are disposable and reusable liners available. Not only do these make changing wax melts easier, but wax warmer liners contribute to keeping your wax melts in great condition.
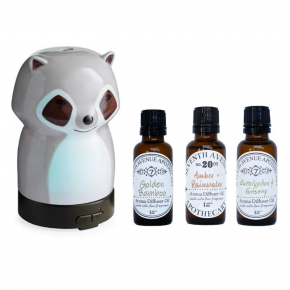
Aroma Oil Diffuser Care Tips
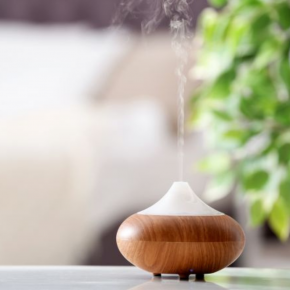
Frequency
To maintain the longevity of your aroma diffuser, it is best to clean it after each use, especially if you are switching between aroma scents. By doing this you are:
Preventing leftover oils from blending with the next oils
Preventing corrosion on any parts of the diffuser
If you are unable to clean your diffuser after each use, at least make sure you are not letting water and aroma oils sit in the diffusers reservoir between uses! By doing this, you are actively preventing mold from forming.
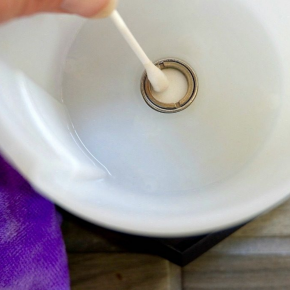
Cleaning: Ultrasonic Plate
The ultrasonic plate or chip is what actually breaks down the aroma oils and disperse them with water into the air. Dip a cotton swab into alcohol and rub it over the plate/chip to remove any excess oil buildup. Dish Soap Method: 1. Wet a microfiber or other soft cloth with water 2. Add a small amount of natural dish soap to the wet cloth 3. Wipe out the reservoir with the cloth 4. Rinse out the cleaned reservoir with water 5. Dry the reservoir with a clean cloth or cotton swabs
Your diffuser is now clean and ready for use! If you are using the dish soap method to clean your diffuser, it is a good idea to separately clean the ultrasonic plate/chip.
Cleaning: Water + Vinegar Method
If you are using the water and vinegar method to clean your diffuser, you don’t need to additionally clean the ultrasonic plate/chip separately.
1. Fill the diffuser halfway with water, making sure to not fill up to the max line
2. Add 10 drops of pure white vinegar
3. Let the diffuser run for 3-5 minutes
4. Drain the diffuser completely
5. Dip a cotton swab in vinegar and to clean any corners of the diffuser
6. Rinse with clean water
7. Empty the diffuser and dry it with a cloth or clean cotton swabs
Your diffuser is now clean and ready for use!